The Nevada STEM Underwater and Aerial Vehicle Computer Science Institute (NSUAVCSI) was designed to provide professional development for 6th through 12th grade teachers in not only computer programming, aerial vehicles and underwater robots, but to more importantly then make those resources available to their students. My last several posts have been about our progress so far in the computer programming and aerial vehicle aspects. Now we have begun the underwater robot section of the institute.
I chose to purchase 7 OpenROV 2.8 underwater robots partly because they would have to be assembled. Many teachers have limited “making skills,” and assembly of these vehicles requires soldering, wiring, acrylic welding, gluing with epoxy, super glue, other adhesives and more. Dr. Alex Forrest from the University of California, Davis, the lead instructor for this portion of the class, received one of the 2.8s weeks ago so he could assemble one to prepare to guide the teachers through the process. There are excellent directions online provided by OpenROV on how to build the robots, but having an experienced builder there able to share their “messy” mistakes and learning during the build has been invaluable to say the least.
Friday the 18 teachers in the institute met at the Tahoe Science Center home of the Tahoe Environmental Research Center (which is affiliated with UCD, hence Alex’s connection) to learn the science and engineering behind UAV’s, but also to begin assembling the 6 vehicles they’ll be able to check out for use with their students.
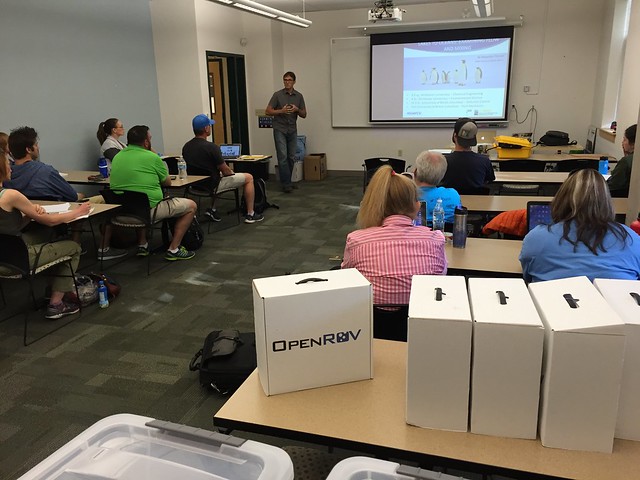
Above: Dr. Alex Forest begins class with a short presentation on the hows and whys of underwater vehicles.
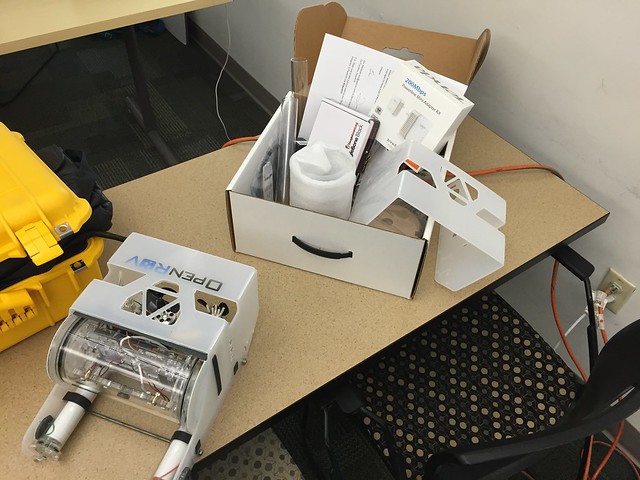
Below: The goal – an assembled OpenROV 2.8 next to an unassembled one.
First steps involved acrylic welding the parts of the housing making sure everything was lined up and turned the correct way before making the weld … a bit nerve wracking.

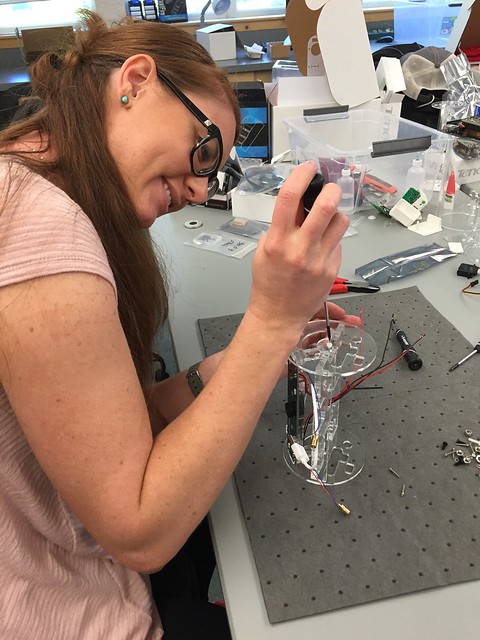
After much of the welding and gluing was done and parts started to take shape it was time to begin wiring and installing circuit boards and other electronics.
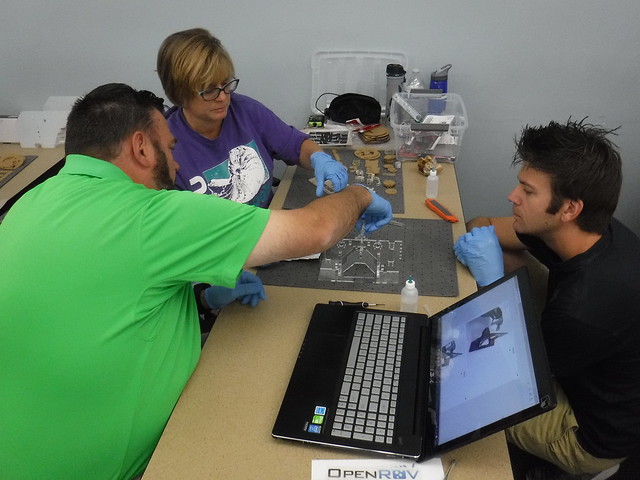
 Above: Alex clarifying the next step
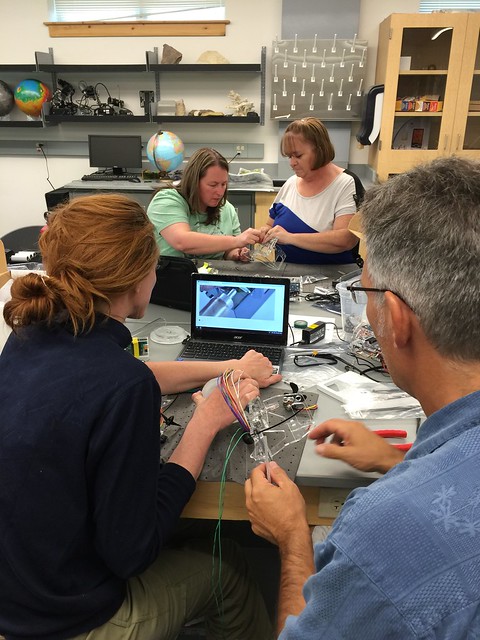
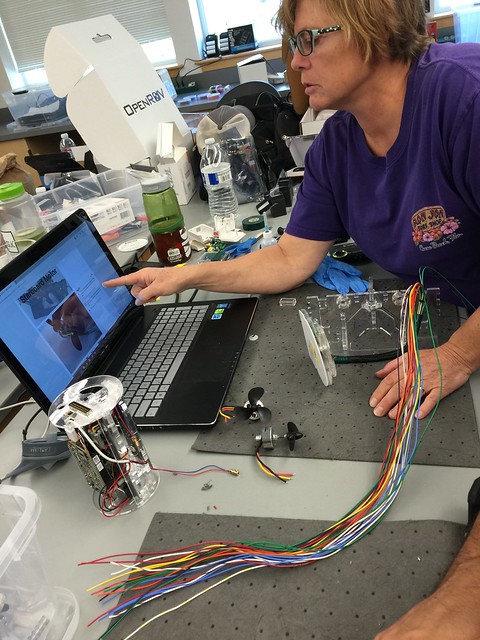
Above: Things taking shape while double-checking the online directions.
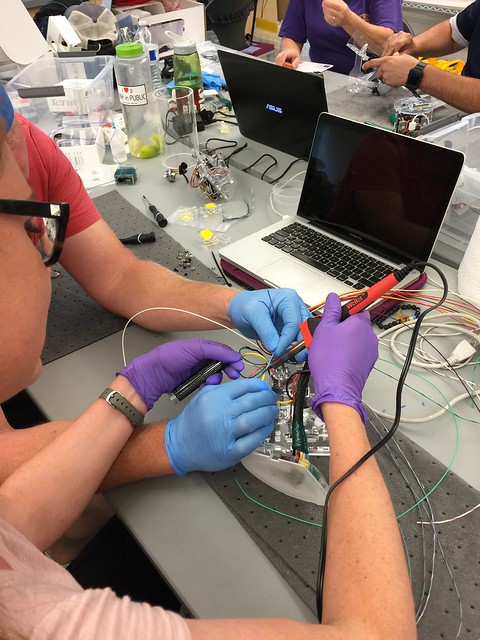
Below: “Shrink wrapping” soldered wiring connections with a heat gun.

Lots of gluing and wiring, but below, lots of soldering too.
This is where we left it at the end of the day Saturday. We meet next Friday and Saturday to finish building and perhaps even give them a tryout in the public swimming pool. A day at Lake Tahoe will come in October.
Learning is messy!
This is absolutely amazing, as a middle school Science teacher, I feel like I need to take your Science class!! I wish I would have had this type of knowledge coming out of High School, it would have really helped me in my college Science courses. Great job, I look forward to reading more posts from your class!