Last year at the NSTA STEM Forum in Minneapolis, we saw Art Ellis demonstrate this great flying inquiry lesson using inexpensive store bought balsa wood model planes … you know, the kind you may have had as a kid. Art gave us his blessing to share the lesson … so once we got the chance … well here it is!
We also used a plastic bucket from a hardware store (about $2.75), a wood block (about 4 x 4 inches – 1 to 2 inches thick – we actually used round ones we got as scrap), a washer about the size of a quarter, a few small paper clips and 1 OR 2 meters of thin string. 1 meter, if like us, we were flying in a narrow hallway, 2 meters if you have a larger space to fly in.
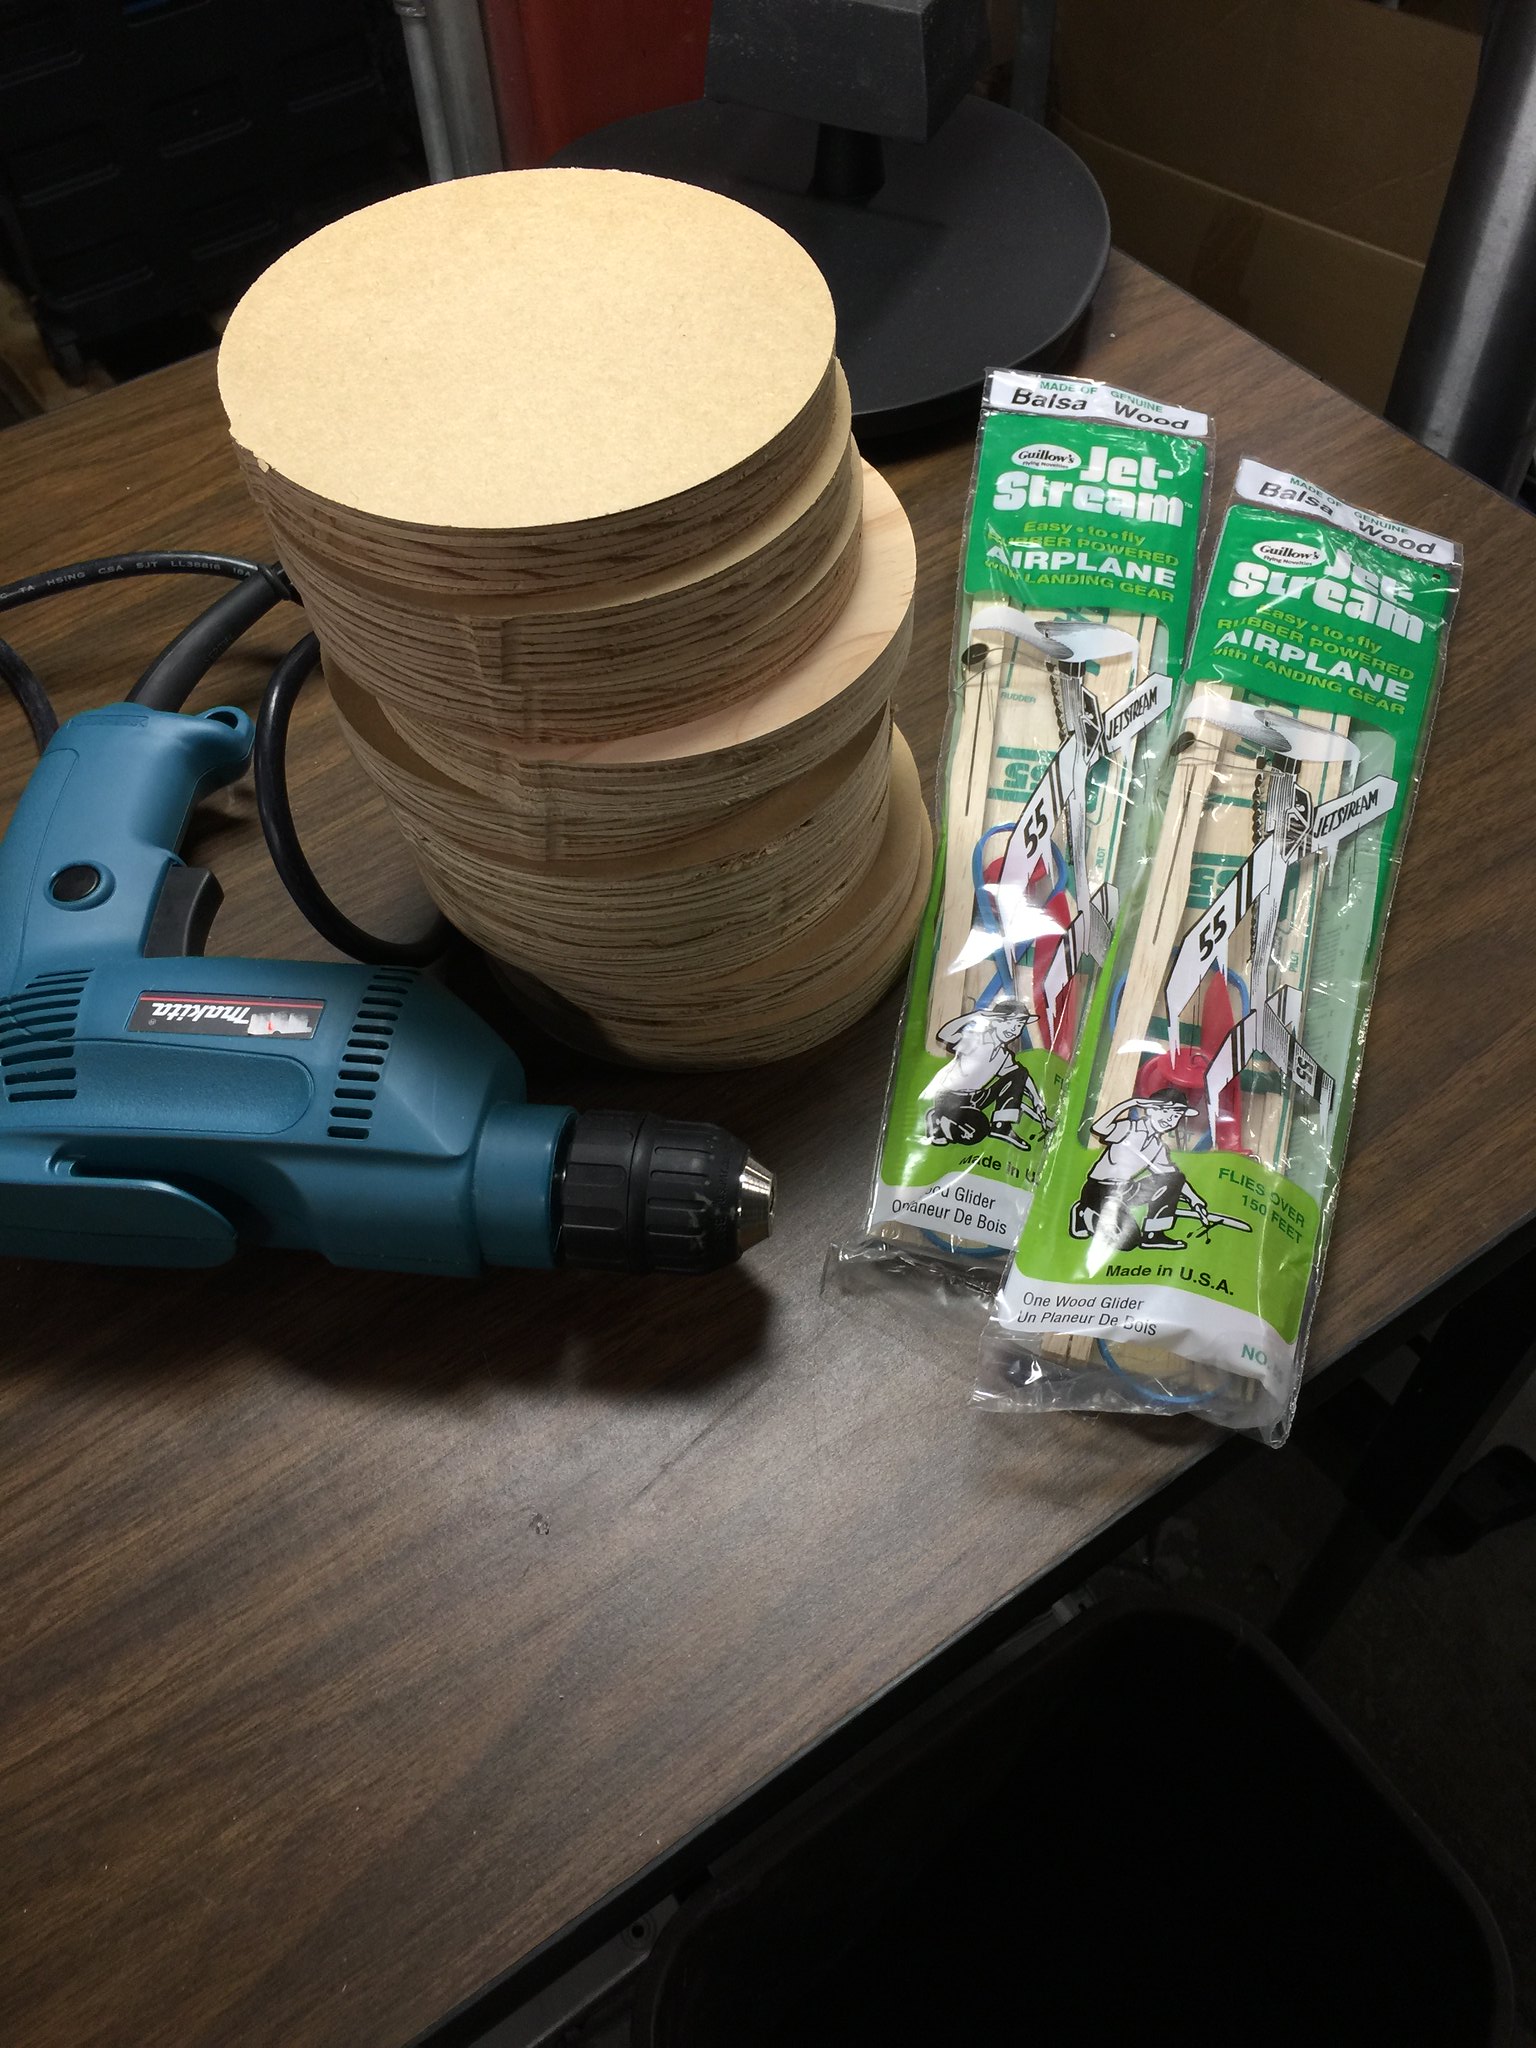
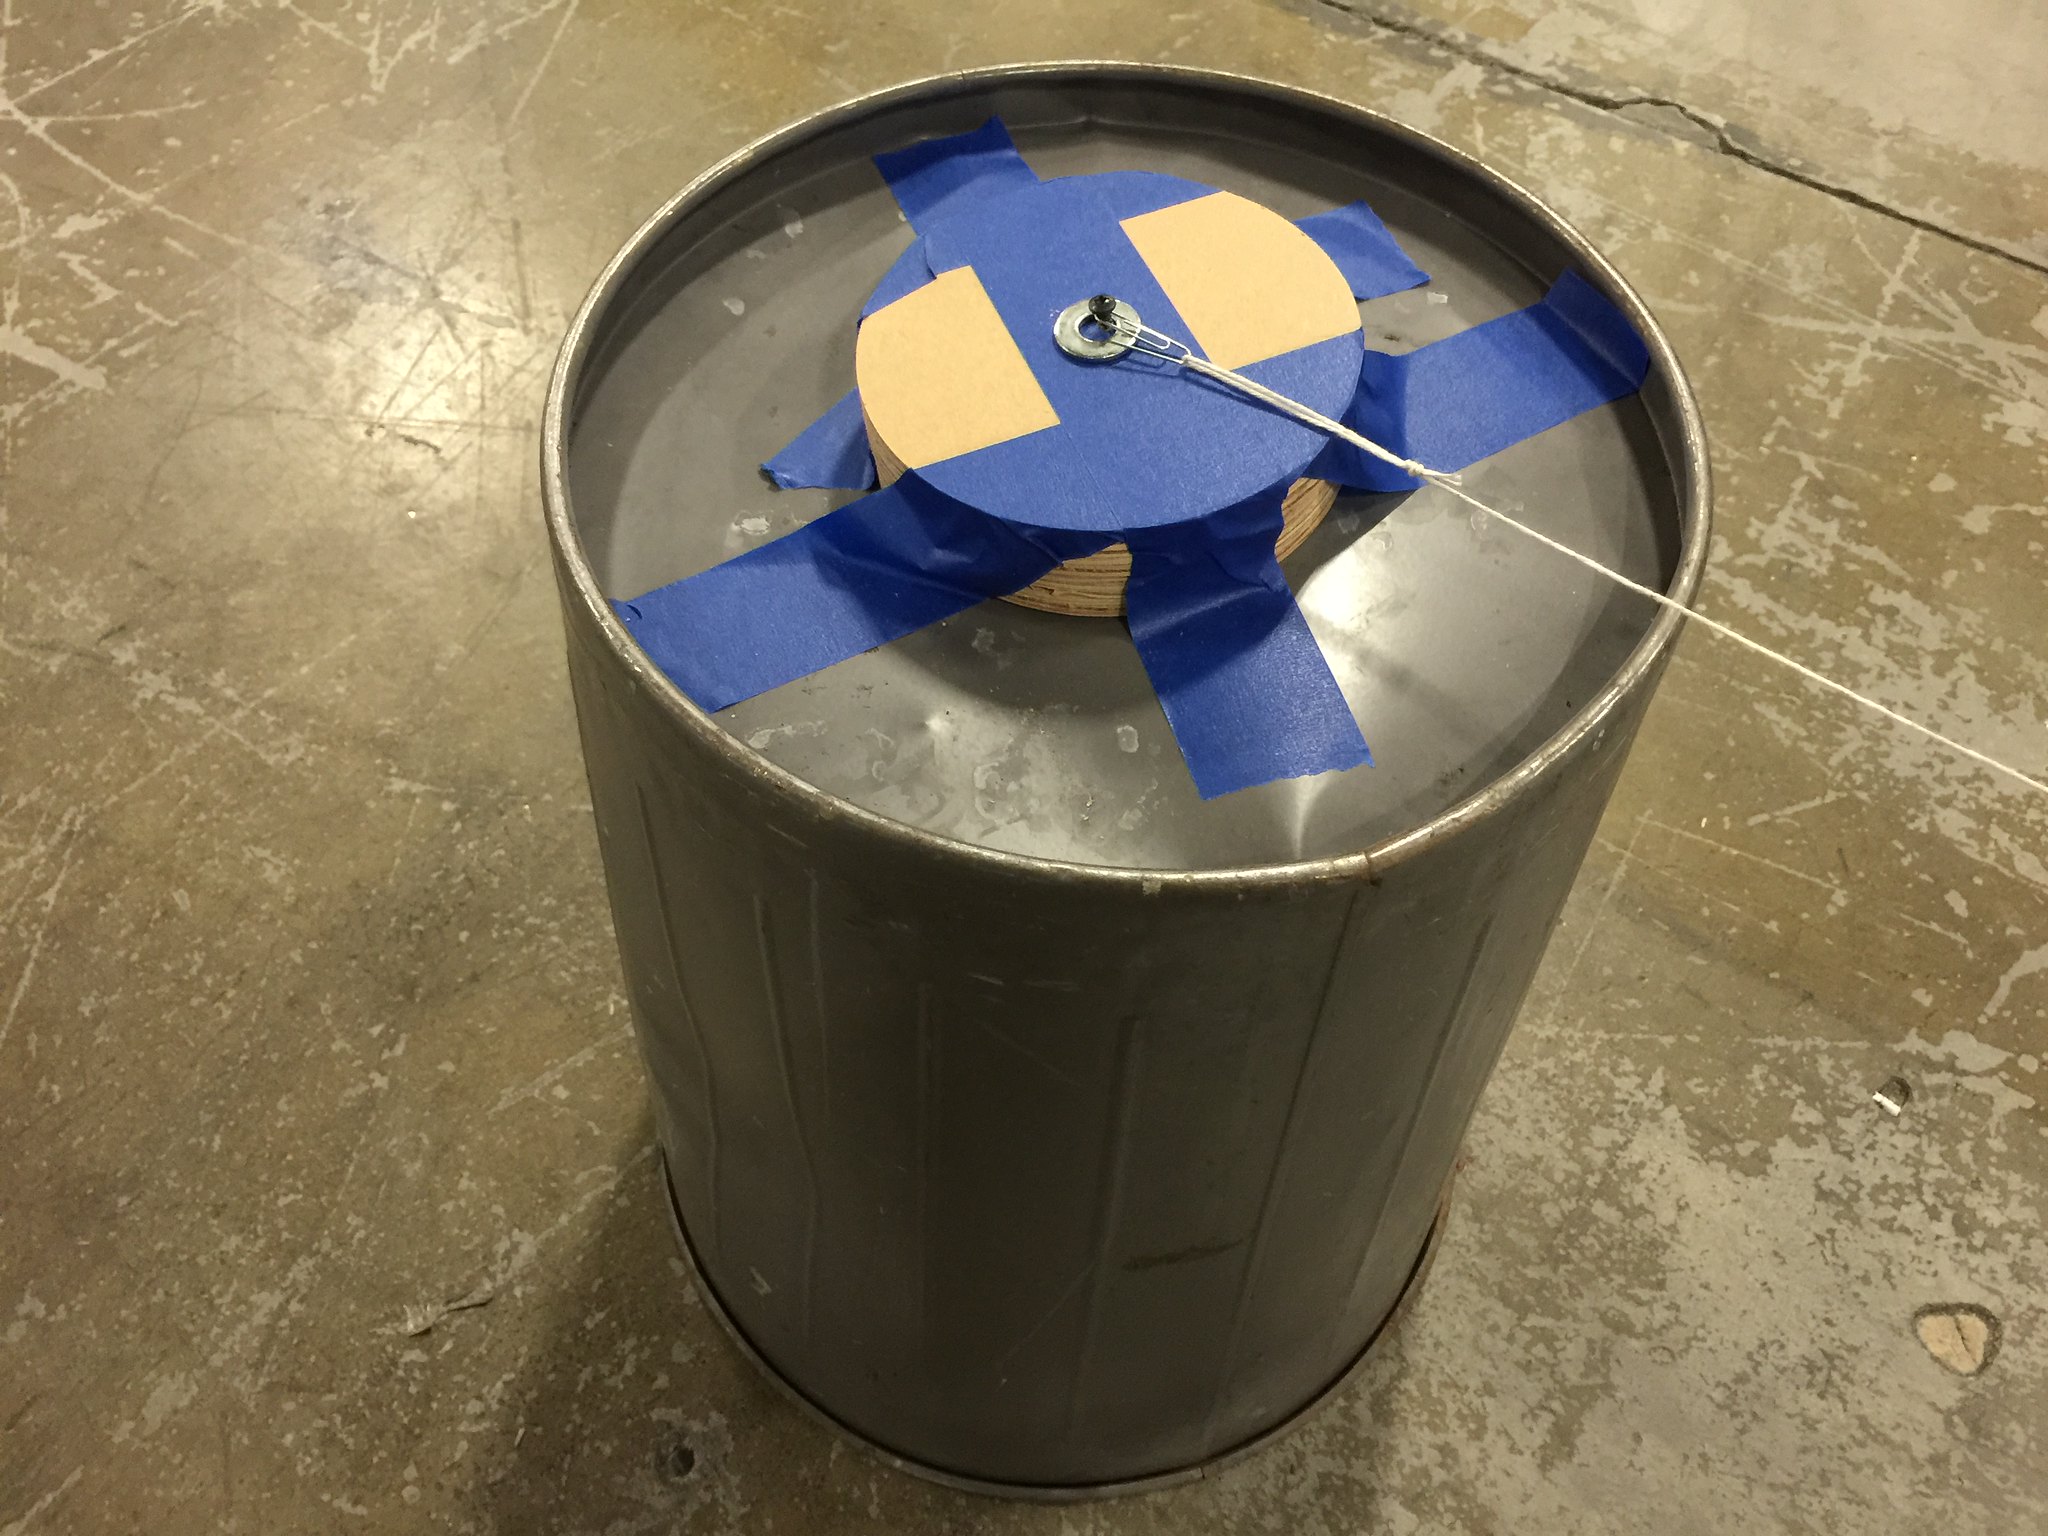
We screwed the block of wood to the top of an overturned 5 gallon plastic bucket (photo below is of metal can we tried things out on) the quarter sized washer. Next we tied a loop in each end of the string and attached one of the paper clips to each end. (add about 15 centimeters to the length of the string to take into account making the loops on each end – try to get the length as close to exactly 1 or 2 meters as possible)
Following the directions printed on the plane’s package assemble your plane.
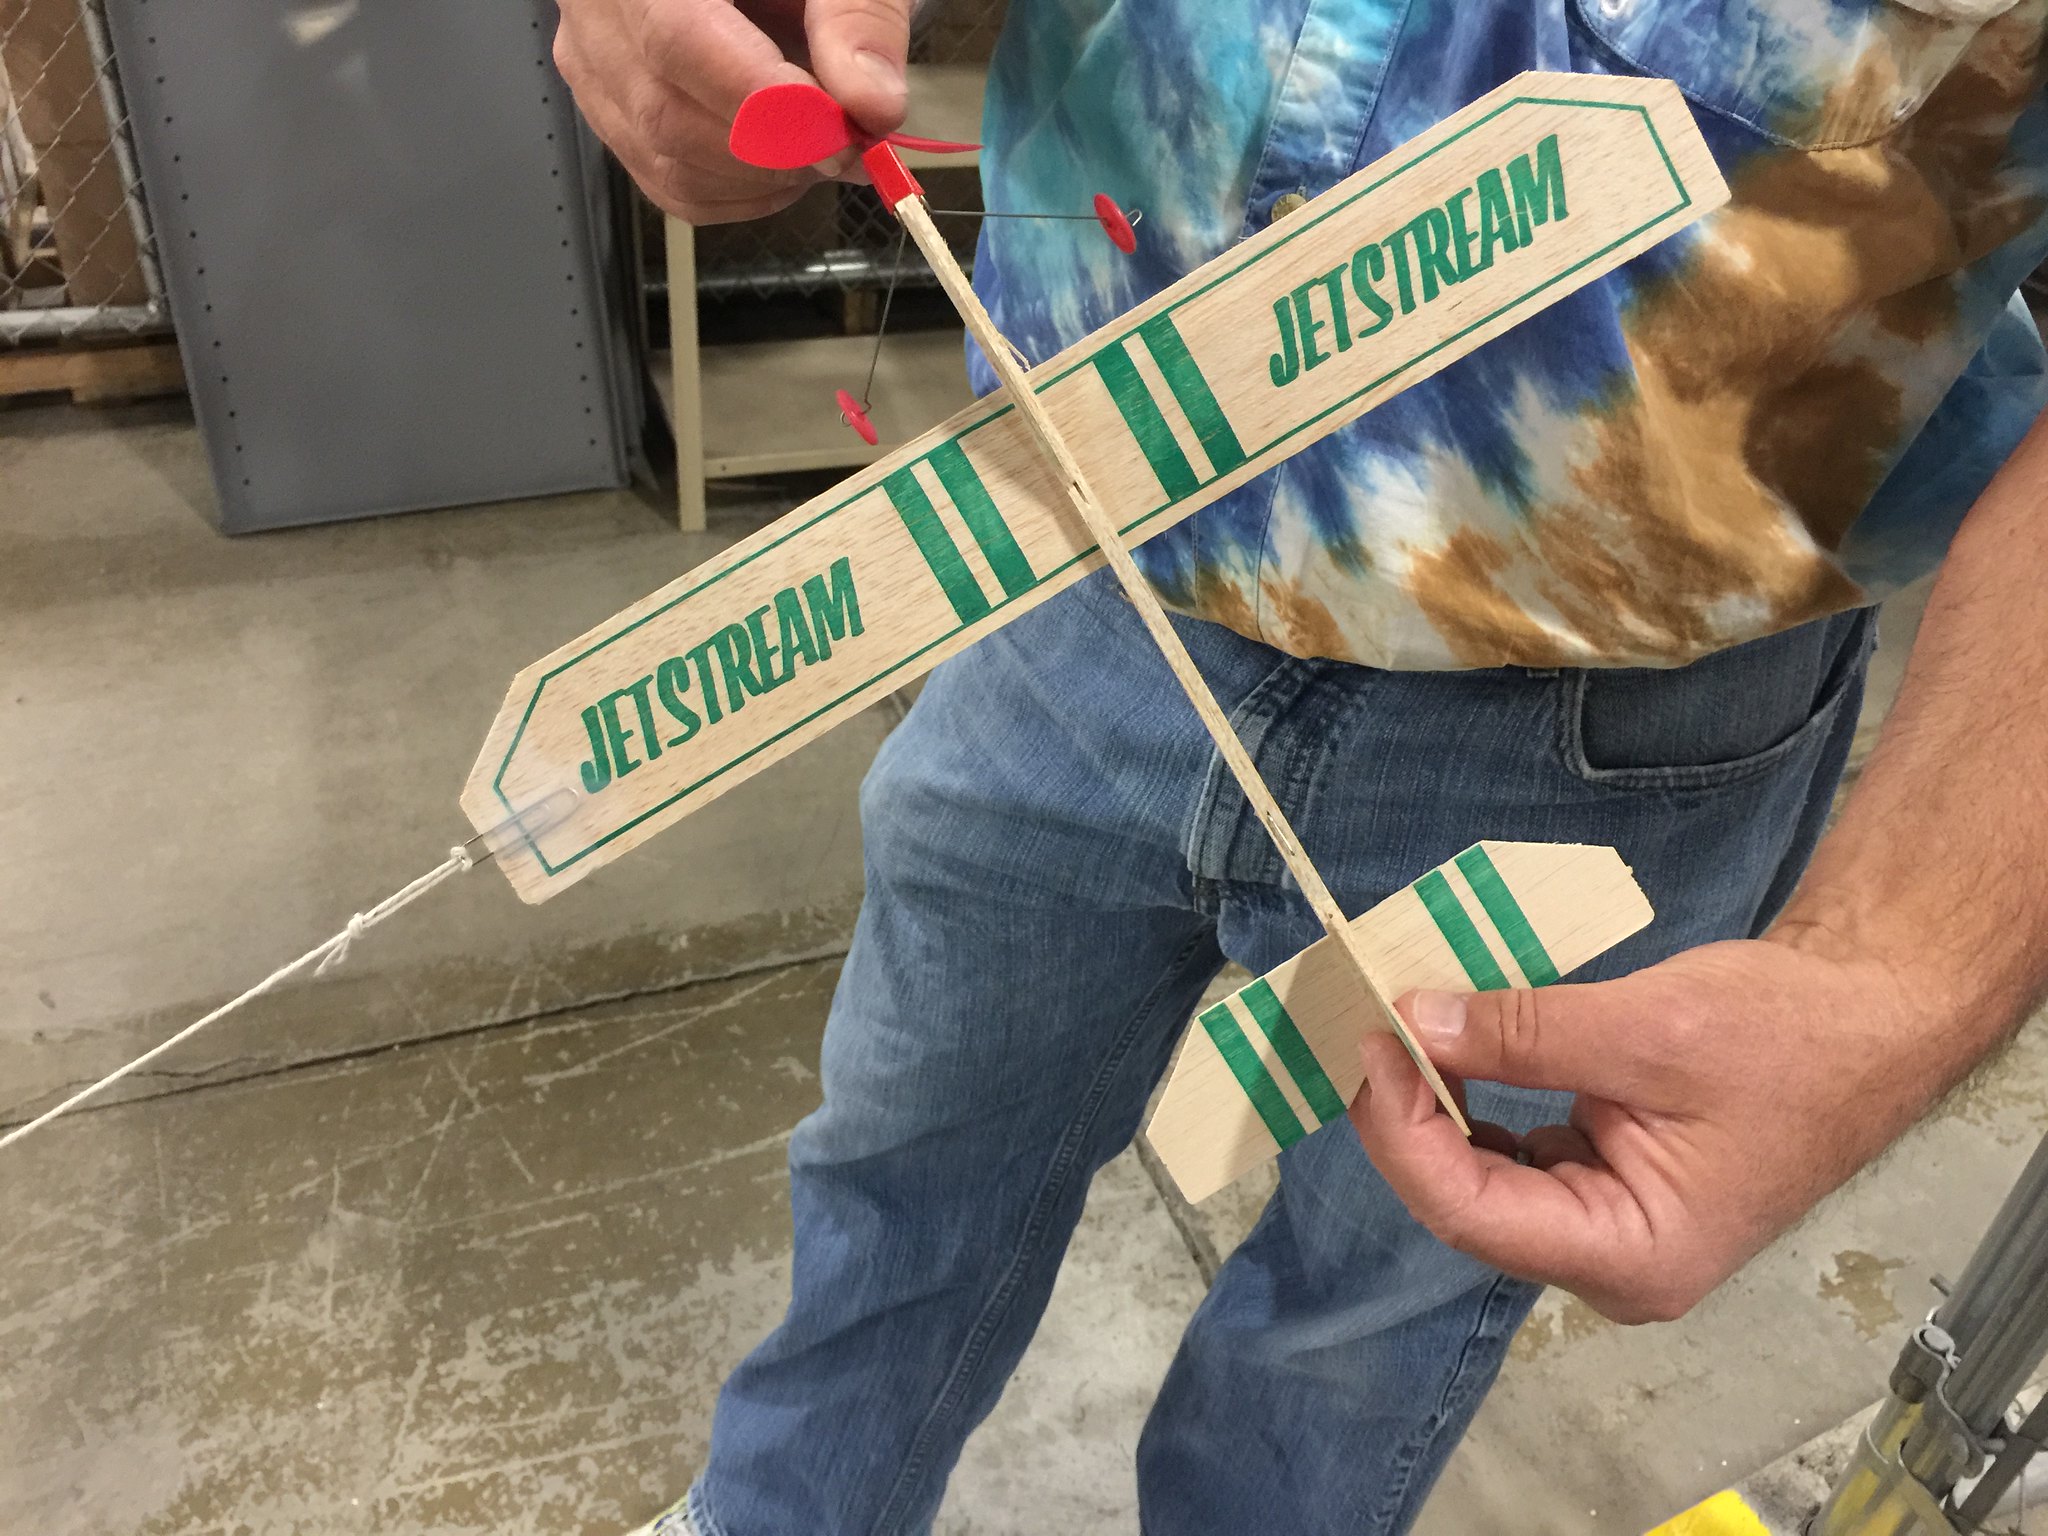
Then attach The other end of the string to the wing by taping the paper clip to the wing.
Then put about 125 winds on the rubber band, set it on the ground and the result is the video this post started with.
Because you know the length of the string you know the radius of the circle it flies. Therefore students can figure out length of flight. During flight the number of circles it completes can be counted and adjustments can be made (engineering) to the plane and how the rubber band is wound to achieve a longer flight. Using a stopwatch the amount of time the plane is airborne can be checked and again with adjustments a longer time airborne is the goal.
In addition students can add components using tape and other materials attached to the wing and tail edges to experiment with how they can control the flight.
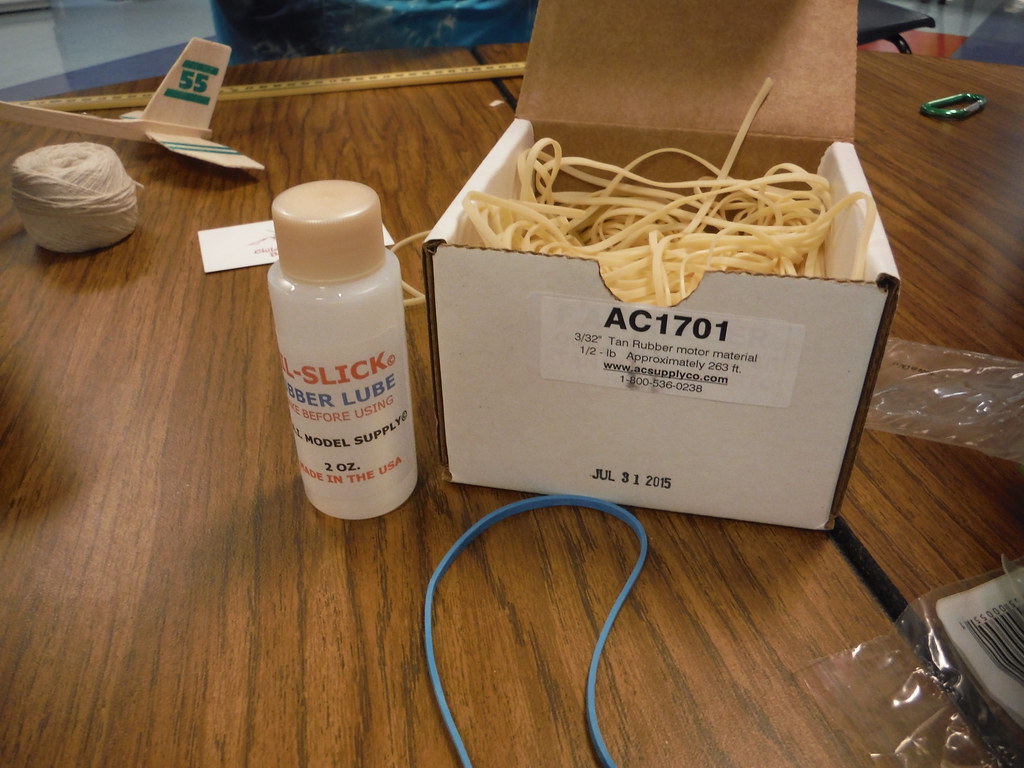
Next you can purchase material to make your own higher strength rubber bands that can be wound many more times to add length and speed to flights.
We’re just getting started with this inquiry activity … we presented it to teachers a few weeks back and they loved it. As we gain more experience I’ll pass along new learning possibilities.
Learning is messy!
Another very interesting STEM project that I can add to my tool kit. Thanks again for the resource and I’m sure my 6th graders will take a lot from this project.